

Saturday, June 25, 2011
Party Preview!


Friday, June 24, 2011
Party Planning in the Dark!

Thursday, June 23, 2011
Multi Colored Chocolate Creations (on the cheap)!
I have come to real enjoy working with different colored chocolate to create fun themed foods for my parties, examples on the cupcakes here, on the retirement cake here, and on a cheesecake here. I almost always have some of the white and dark chocolate candy coating in my pantry. I have also used the multi-color chocolate melt chips and really like them, but I tend to work like an art person and want tons of colors. That gets expensive and takes up a lot of storage space buying the pre-colored melts in all the colors I want...plus they don't really MAKE all the colors I want so even when I buy them, i end up trying to mix new colors! I have experimented with tinting white chocolate coating using Wilton cake decorating colors (just what I had on hand). But adding any water based liquid to the chocolate makes it get chunky and had to work after mixing for a VERY short time.

So a friend who gave me some really great sea themed chocolate molds for Christmas. (How wonderful was she to know I chose an Under the Sea theme for Lydia's birthday bash AND to anticipate ....and understand my interest in chocolate candy!) I had resigned myself to making only white chocolate sea creatures, but then I did a little experiment...and it WORKED! I stumbled on a way to make small batch candy shapes in any number of tints and shades.... Using just white chocolate coating and food coloring (stuff I already owned)!!!
Here is the process.
1. Start with white candy coating. Spoon melted coating into a plastic baggie. Cut the corner off the bag, so it functions like a pastry bag. Squeeze chocolate into the mold to fill about half of one mold ....don't fill it all the way

2. Use a tooth pick to place some food coloring into the melted chocolate inside the mold (I used the Wilton brand thick gel kind that is usually for tinting frosting).

3. Quickly mix with your tooth pick to change the chocolate color. The chocolate will get thick really quickly as the water reacts the chocolate coating. You want to stop mixing before it starts getting chunky. I tried to spread it where I wanted it in my mold. Because I had clear molds, I could look at them from the back to test if I liked the mixed result while I was working with it. Once you are happy, or when it starts gettomg thick, fill the rest of the mold with chocolate coating from your piping bag. Don't mix this in, just let it fill up the mold and sit on the surface.

Using this technique, I made orange gold fish and pink and yellow shells. I used the same, "fill hafway and mix with a tooth pick" technique to make some white with dark chocolate swirl shells. Mixing two chocolates did not produce the thick chunky issue, so I had more working tome. I even did a few where I filled halfway, swirled in sprinkles, spread that mixture in the mold, and then filled with plain chocolate to create speckled start fish. You can also see one plain boring all whit sea horse.. or maybe you can't... he is a LOT harder to notice without any colors swirled in! I am SO glad I did NOT make them all plain!

Using this method, I liked that I could work them one at a time, so I could stop at any time, instead of having to finish all that needed that color. The weird thick drying also was less of an issue because of working one at a time. Finally, the artist in me got to shade each sea shell, adjusting the color to the look I wanted instead of being limited to what came in the candy coating package.... all using materials (white candy coating and food coloring) that I keep on hand in my pantry!
Tuesday, June 21, 2011
Fabulous Frames from Thrift Store Finds!
At Lydia's Birthday parties, I like to set out lots of pictures. Each year I have done a birthday themed photoshoot prior to her birthday and then put those pictures on display at the party. (You can see previous photoshoot pictures from the butterfly party here, from the Alice in Wonderland Tea party here, and some of the pictures for the Under the Sea party here.) I end up wanting several frames that also coordinate with the theme. Buying new frames is getting expensive, so I set out to up-cycle some thrifted frames.


I already had a bunch of beachy feeling doodads lying out for decorations at the "Under the Sea Party". I used some wired net gold ribbon that was on close out after Christmas one year. I twisted in some teal and some thinner gold ribbon salvaged from a Christmas present. I decided I liked the ribbons on the corner better than in the center top of the frame, but felt like I needed something to balance it out. So I glued down 3 small starfish that I bought at Oriental Trading. I LOVE, LOVE, LOVE this frame.. almost as much as I love the little girl in the picture!
Monday, June 20, 2011
Mermaid Doll in the Making

I am finally finished with Lydia's mermaid doll, with only days to spare before her birthday.

Above is the finished doll and below is what she looked like when I found her at the thrift store for $5.

She was dressed like a clown, but I thought she would make a much better mermaid!

When I removed her costume I discovered really weird shoulders, curved pointy boots, and long green tubes that made up the clown pants.

One pant leg became the tube of the mermaid tail. The other pant leg was cut up to make the top, cover the shoes, and make puffy sleeves to disguise the shoulders.

The tail has taken the most time, sewing ribbon in ruffled layers to add dimension and hide some stitching.

I have probably spent more time on this one doll costume, than I did on all three mermaid costumes worn by myself, Lydia, and Aunt Jen for Halloween 2008.


We will not be wearing these, or any, costumes at Lydia's party but I always like to have framed pictures that fit the theme scattered around. I have a few beachy ocean pictures and then these mermaid pictures.
Saturday, June 18, 2011
Happy Father's Day!


As the sand says, "Happy Father's Day!"

Friday, June 17, 2011
Photoshoots at the Beach!
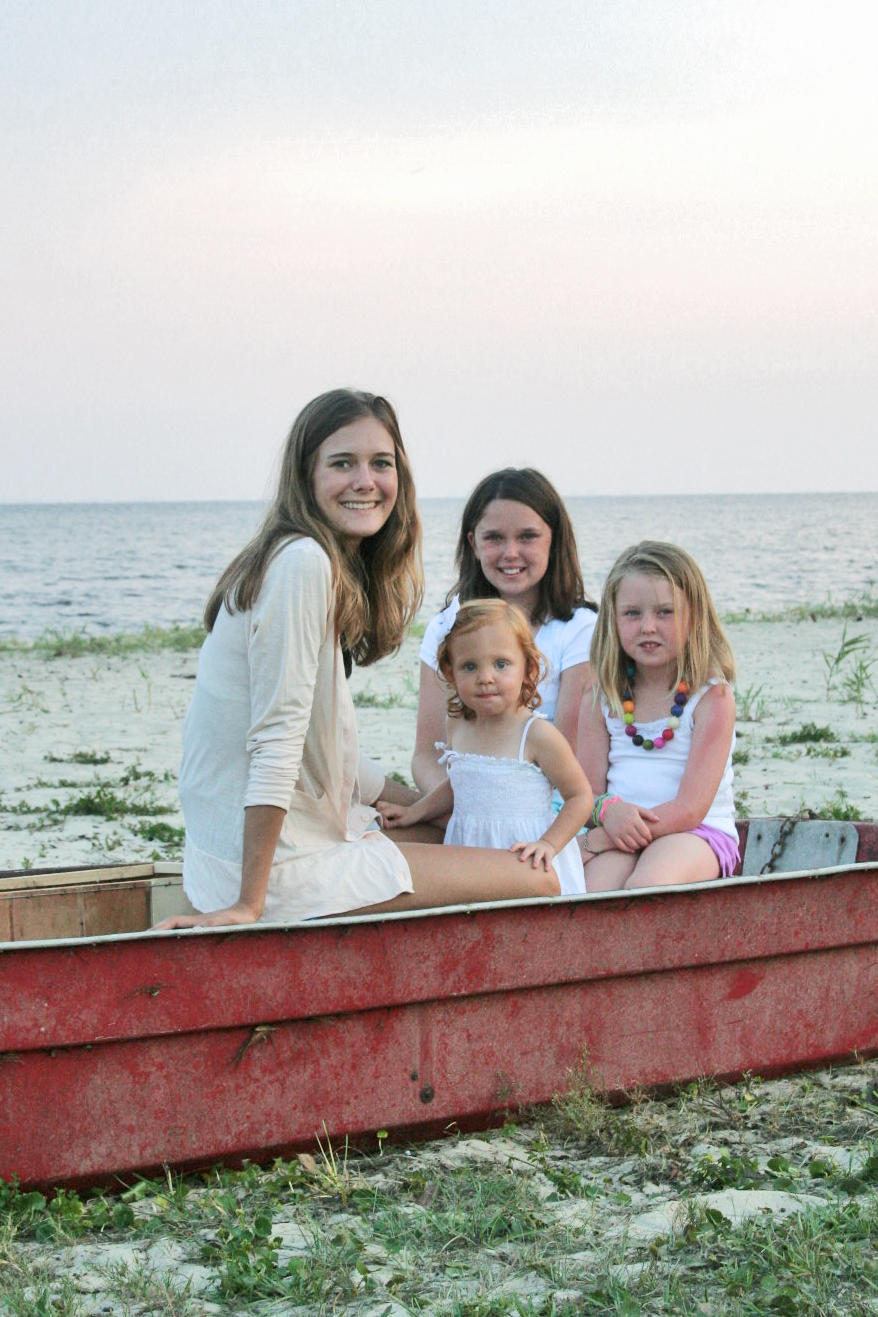
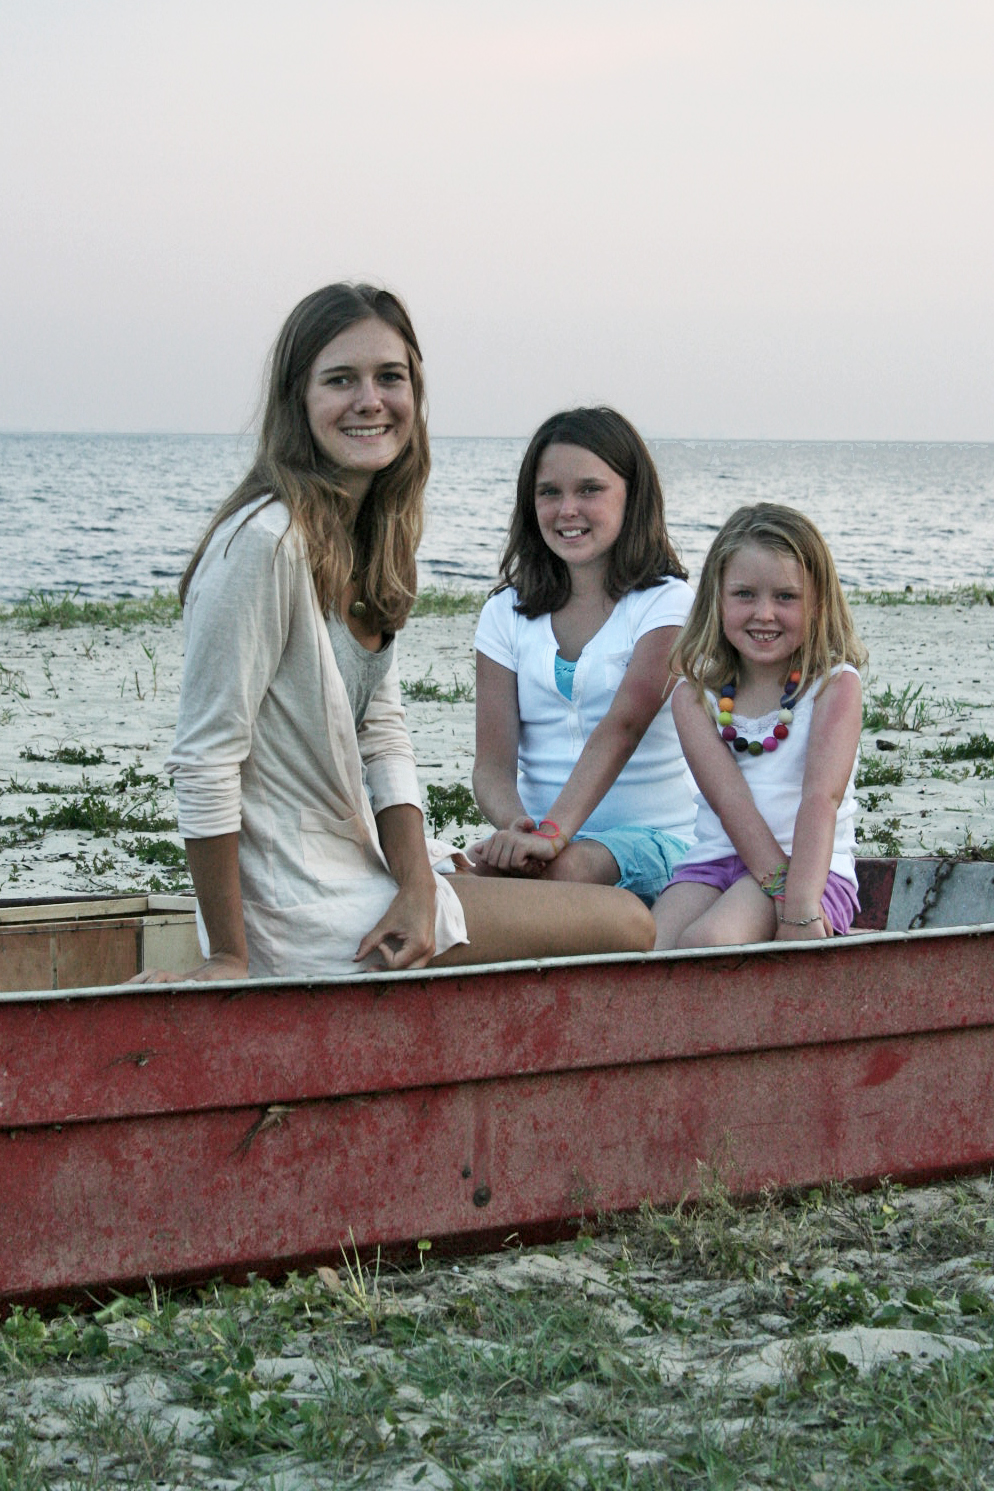
Last year was our first year going to this particular beach. We found this great local seafood place, Nicks, that is so far off the beaten path it is referred to as "Nick's in the Sticks." It is the kind of place where the staff call the regulars by name, they serve amazing local seafood, there is a view of the water, and there was NO WAIT! They also had this old boat down by the water, perfect for a beachy photo shoot. All of this was a complete and blessed surprise last year. This year was equally wonderful and I think our picture turned out great.
![]() Above is the picture of all the girls this year.
![]()
I couldn't resist comparing it with last year's picture. Apparently, they added a white boat this year. I didn't remember two last time, but I could have been mistaken.
![]() Here are Kelly's girls this year and a picture below from last year.
![]() Back to this year, here is a good one of Sophie and Lydia hugging. It is so nice that these kids get along and look out for each other. This was the first year that Lydia was kind of one of the kids, running upstairs to play on their own and generally just having fun.
![]() A few more of Lydia by herself with the boat.
![]() Not much photo-shopping needed on these pictures. I bumped up the brightness and the contrast just a little. I have also been playing with the lens flare (filters, render, then lens flair). It just seemed to fit these sunny beachy pictures and I really like the round solar flare details that popped up in random places.
![]() So, tonight we are packing and driving home tomorrow. It has been a wonderful trip, SUCH a WONDERFUL trip! I am so happy to have these pictures (and many more that I will share soon) to look back on when school starts and the weather turns cold.




Subscribe to:
Posts (Atom)